
Hepper is reader-supported. When you buy via links on our site, we may earn an affiliate commission at no cost to you. Learn more.
5 DIY Cat Window Guards and Screen Protectors You Can Make Today (With Pictures)
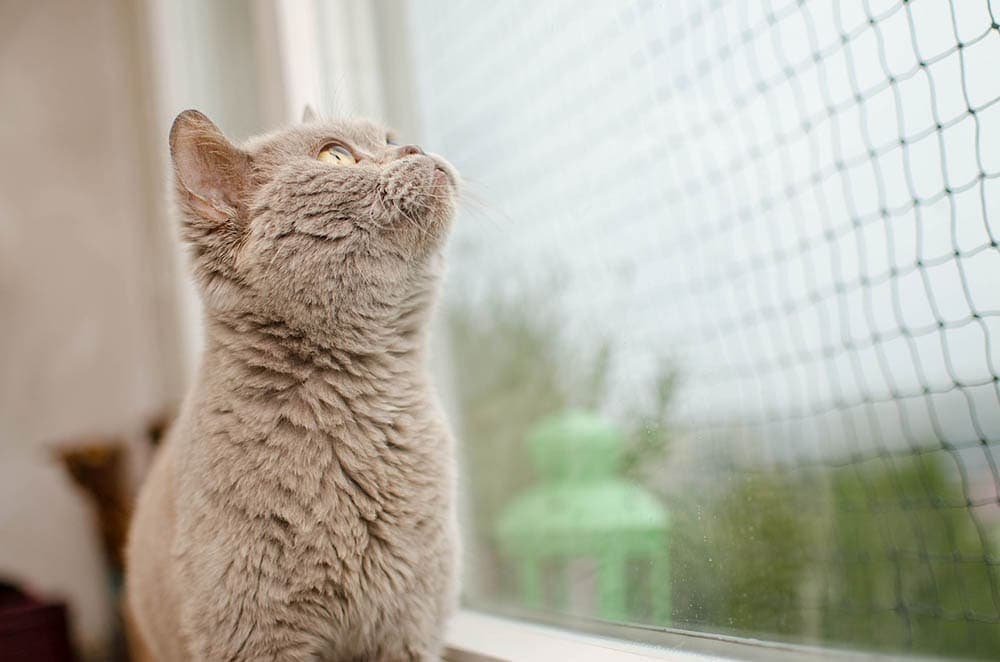
If your cat is a window watcher, you might be worried about your window screens. Screens on the windows can be a tempting scratching post for your cat. Many window screens aren’t designed to support the weight of a cat pressing against them, so you risk your kitty falling right through!
Commercial screen grilles and window guards are available, but they can get pricey and might not fit your windows. These DIY designs are great alternatives for keeping your windows and cats safe.

Top 5 DIY Cat Window Guards and Screen Protectors
1. Cat Proof Windows with Fence Wire
| Materials: | Fence Wires, Screws, Washer |
| Tools: | Drill, Scissors/wire cutters, Tape Measure |
| Difficulty: | Easy |
One of the easiest ways to cat-proof your windows is by installing fence wire screens. These screens are bigger and more visible than plastic window screens, but they still let light and air in and are completely cat-proof. The screens are strong enough to withstand scratching and stop your cat from falling through the window.
One of the big drawbacks of this method is that it requires drilling into your window frame to install. This makes it a slightly more destructive method, but if you are sure you want windows that are safe for your cat, it’s a great choice.
2. Replace Standard Window Screen with Pet Mesh
| Materials: | Pet window mesh, spline |
| Tools: | Flat screwdriver or spline tool, scissors or knife, tape measure |
| Difficulty: | Moderate |
If you don’t want to cover your window with unsightly fencing wire, you can purchase pet-proof window mesh and replace your window screens yourself. One of the significant advantages of this method is that it’s barely distinguishable from standard window screens; pet mesh is usually a bit denser and thicker, but it installs in the same way.
To replace your window screen, you must pull out the frame and remove the original screen. Window screens are held in place with spline—a material that resembles a rubbery rope. If your spline is in good condition, you might be able to reuse it, but buying a new spline in a slightly lighter weight will make your job easier.
A screwdriver is one of the few tools you'll need to replace the spline, but you can also buy a spline tool that will work better.
4. Attach Wire Mesh with Cable Ties
| Materials: | Wire mesh, cable ties |
| Tools: | Scissors/wire cutters, tape measure |
| Difficulty: | Easy |
Cable ties make everything easier! For a simple, easily-removed window screen, this video shows how to attach a basic wire mesh to the window with cable ties. This method requires windows with a grill or frame to attach the cable ties to, making it a little more limited.
You must also live with the slightly less professional look of cable ties. However, cutting your mesh to size and attaching it with cable ties is easy. It is especially practical if you want to remove the mesh in the future with no damage to your window frames.
5. Protect your Screen with Plexiglass
| Materials: | 1/8” Plexiglass |
| Tools: | Plexiglass cutter, measuring tape |
| Difficulty: | Easy |
If airflow is less important to you or you only need to cover the lower part of your windows, a basic plexiglass cover can keep your windows safe and clear. This tutorial shows how to cover the screen door in an RV, but it’s easy to adapt it to any window or door screen.
The real trick is to get the plexiglass sized just right so it will stay in the screen frame easily without being a pain to install and remove. The plexiglass has the advantage of being clear and easy to remove and replace.
It won’t block airflow completely, but it will cut down on breezes, so if you want to keep your windows open to catch a cool draft, another design might work better for you.
Final Thoughts
We hope this list has inspired you to construct a guard to protect your window screens from your favorite feline. Since these projects range from easy to advanced, start with an easier project if you are unsure which one to choose. You can always upgrade to an advanced project in the future!
Related Reads:
Featured Image Credit: Daga_Roszkowska, Pixabay
Get Hepper In Your Inbox


Pet care tips from our vets and experts, straight to your inbox.
You may opt-out at any time. View our Privacy Policy for more information.

Chelsea Flake Mortensen is a writer with a passion for pets. She grew up around everything from cats to chameleons and loves working with all kinds of animals. Chelsea has a BA in English and Creative Writing from Brigham Young University.
Chelsea loves reading, writing, sewing, and board games. She's lived in half a dozen US states and two countries. She is currently living in New England with her husband. Her articles have been featured in various magazines and literary journals for children and adults. Her writing has been translated into over 40 languages.
Join the conversation
Ask a question, share your story, or send private feedback.