
Hepper is reader-supported. When you buy via links on our site, we may earn an affiliate commission at no cost to you. Learn more.
How To Build a Dog House in 4 Simple Steps (With Pictures)
In this article
If you’ve ever wanted to try your hand at woodworking, chances are building a dog house is high on your list. It seems so simple, right? And if you mess it up, it’s not like your dog is going to make fun of you!
Luckily, building a dog house can be one of the easiest projects to take on—provided you know what you’re doing, of course.
In this guide, we’ll show you how to build your very own dog house with step-by-step instructions.

What Kind of Dog House Do You Want to Build?
Asking how to build a dog house is a very vague question; after all, there are almost as many kinds of dog houses1 as there are regular houses. So first, you have to decide what kind you want to make.
Are you ready to learn all about dog houses? There are A-frames, igloos, houses with sun decks, basic boxes...the list goes on and on. However, they all should have a few basic things in common:
All About Dog Houses
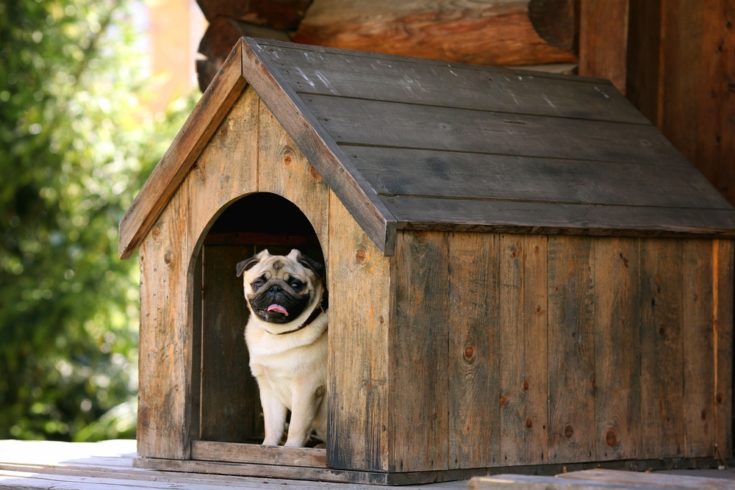
Once you understand these basic principles, you can make just about any kind of dog house your imagination can dream up. For the purposes of this example, we’re going to build a dog house in a classic A-frame style.
The 4 Steps on How To Build a Dog House
1. The Planning Stage
Before you start building a dog house, you need to do a little planning. Here are the main things you need to think about:
Once you have a basic idea of what kind of dog house you’re building, you can start drawing up a blueprint. Use your dog’s dimensions to figure out the dimensions of the house, and remember that, at minimum, you’ll need six panels (front, back, top, bottom, and both sides).
Doing this planning should give you all the information you need to head to the hardware store. You can have the boards cut to your required dimensions there, or you can use a chop saw at home to do it yourself. We recommend having them cut the plywood, though, unless you have a fully-stocked shop at home.
2. Building the Base
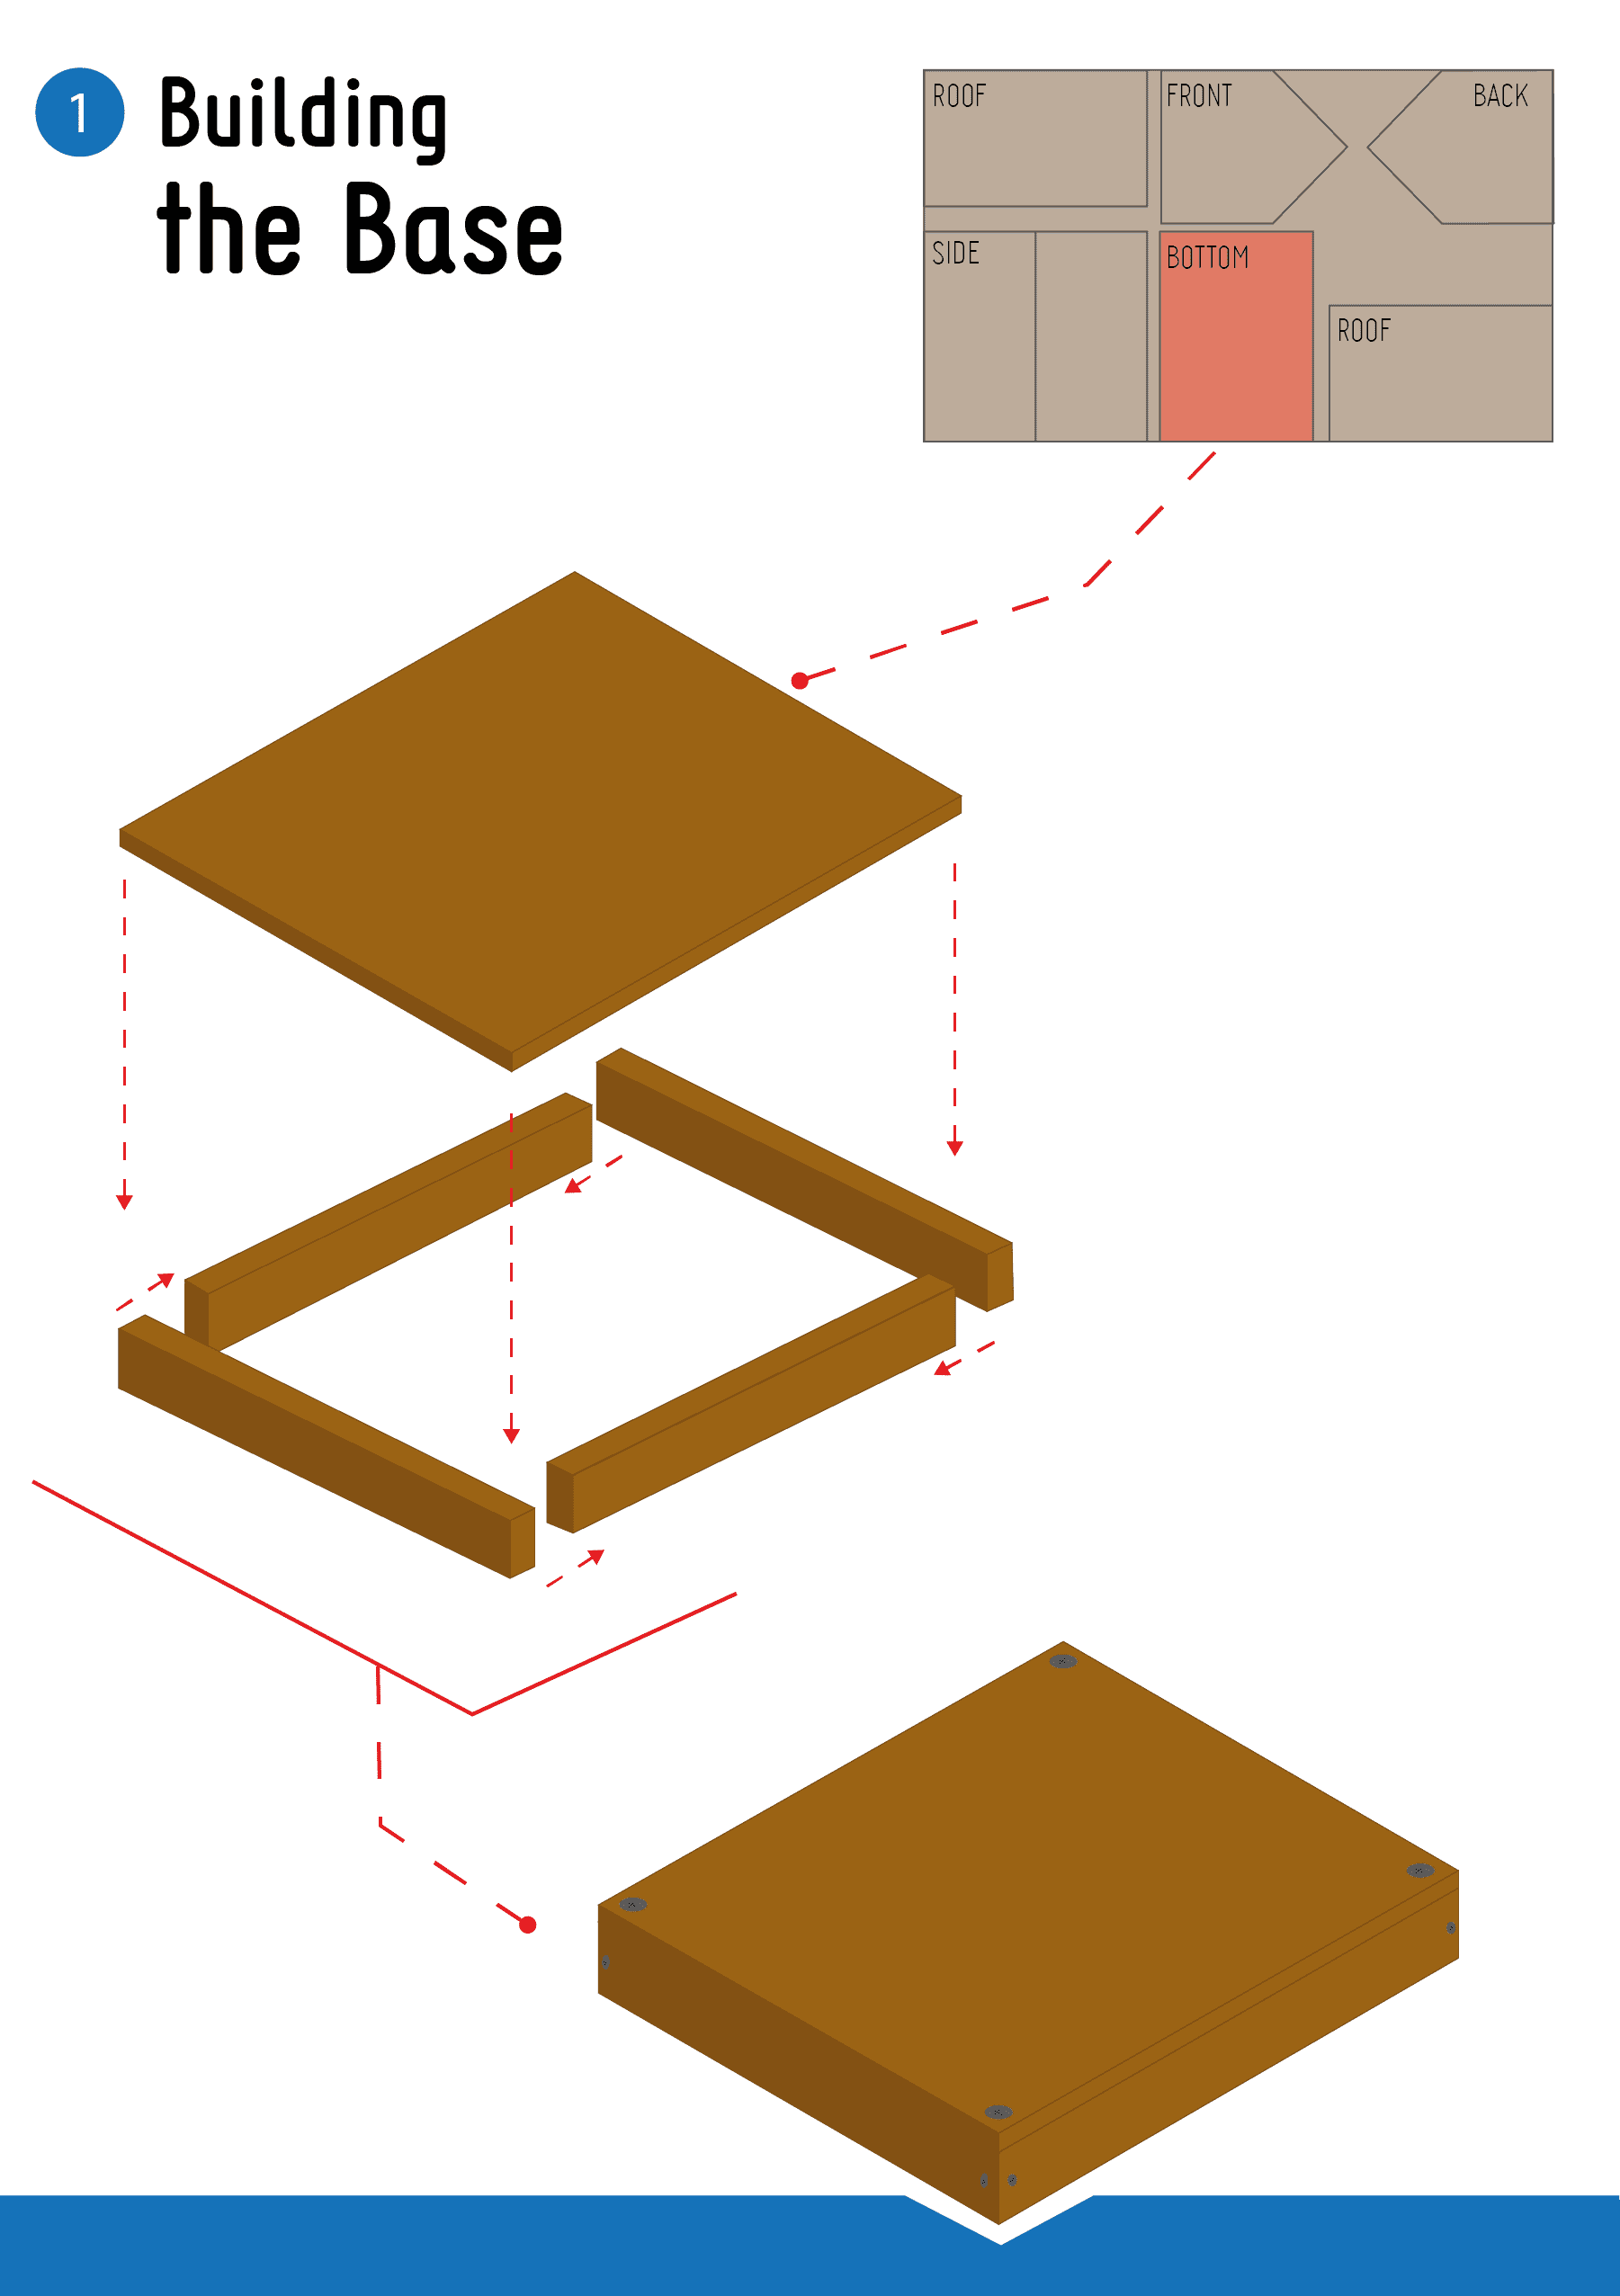
Start off by building the base of the house. This is done by simply attaching four boards in a square or rectangular pattern, with a sheet of plywood or something similar on top. Remember that you’ll want to elevate the floor off the ground. You can leave an air gap between the ground and the floor, or you can use two boards and fill the space with insulation.
To attach the boards, drill two pilot holes at the end of each board, then use wood screws to attach them to one another. You can also use nails or angle brackets if you prefer. The floor can be attached with either screws or nails. You can also add a bed, carpet, or straw on top of the floor to give your pup a comfy spot to lie down.
3. Putting Up the Walls
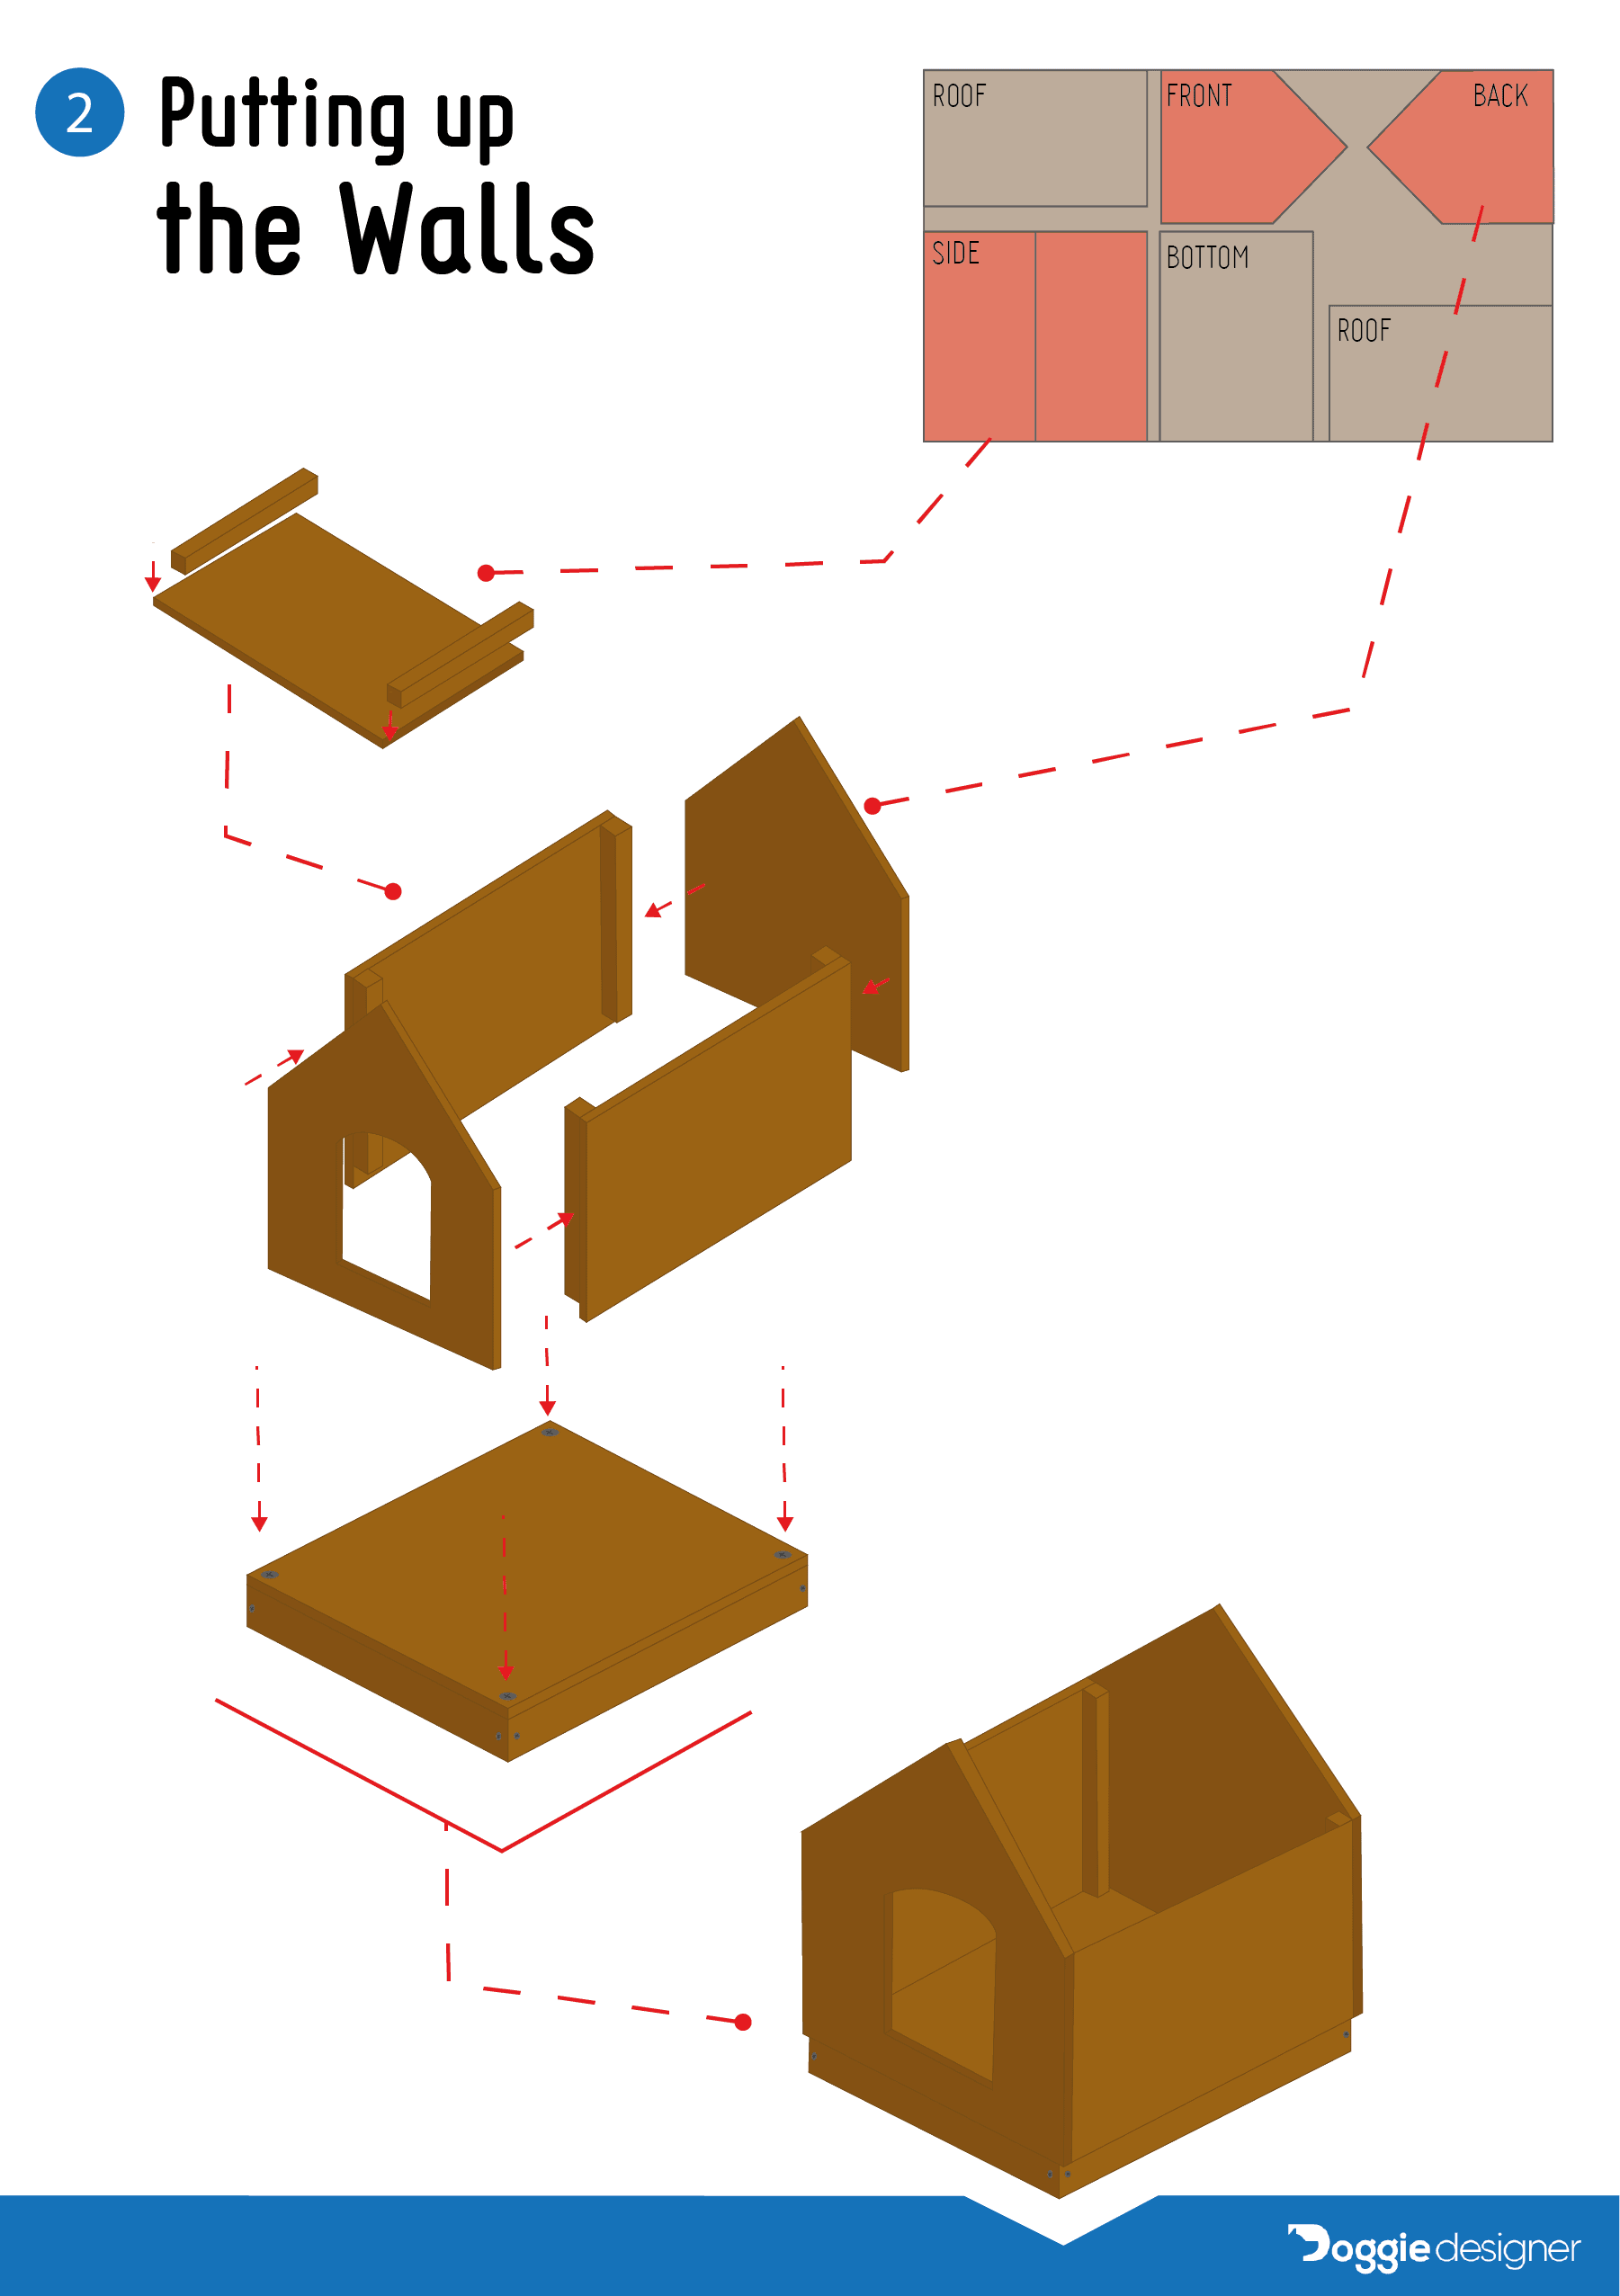
Grab the plywood you’ll use for your four walls and set it aside. For an A-frame, you’ll want the front and back panels to be cut into a triangle at the top so that you have a base on which to set your roof.
Take your 2x4s and screw them into the base; you’ll want one at each corner with at least one in the middle on the sides and back. Also, add 2x4s across the top so that you have a perfect square, plus a board running down the middle.
By now, you should see the basic skeleton of your dog house. To finish the walls, it’s simply a matter of screwing your plywood panels onto the 2x4 studs you just put up.
You can then add the front and back as well. If you haven’t already done so, cut an entrance into the front panel using a jigsaw before you attach it to the frame. You may also want to add a stud running from the front panel to the back.
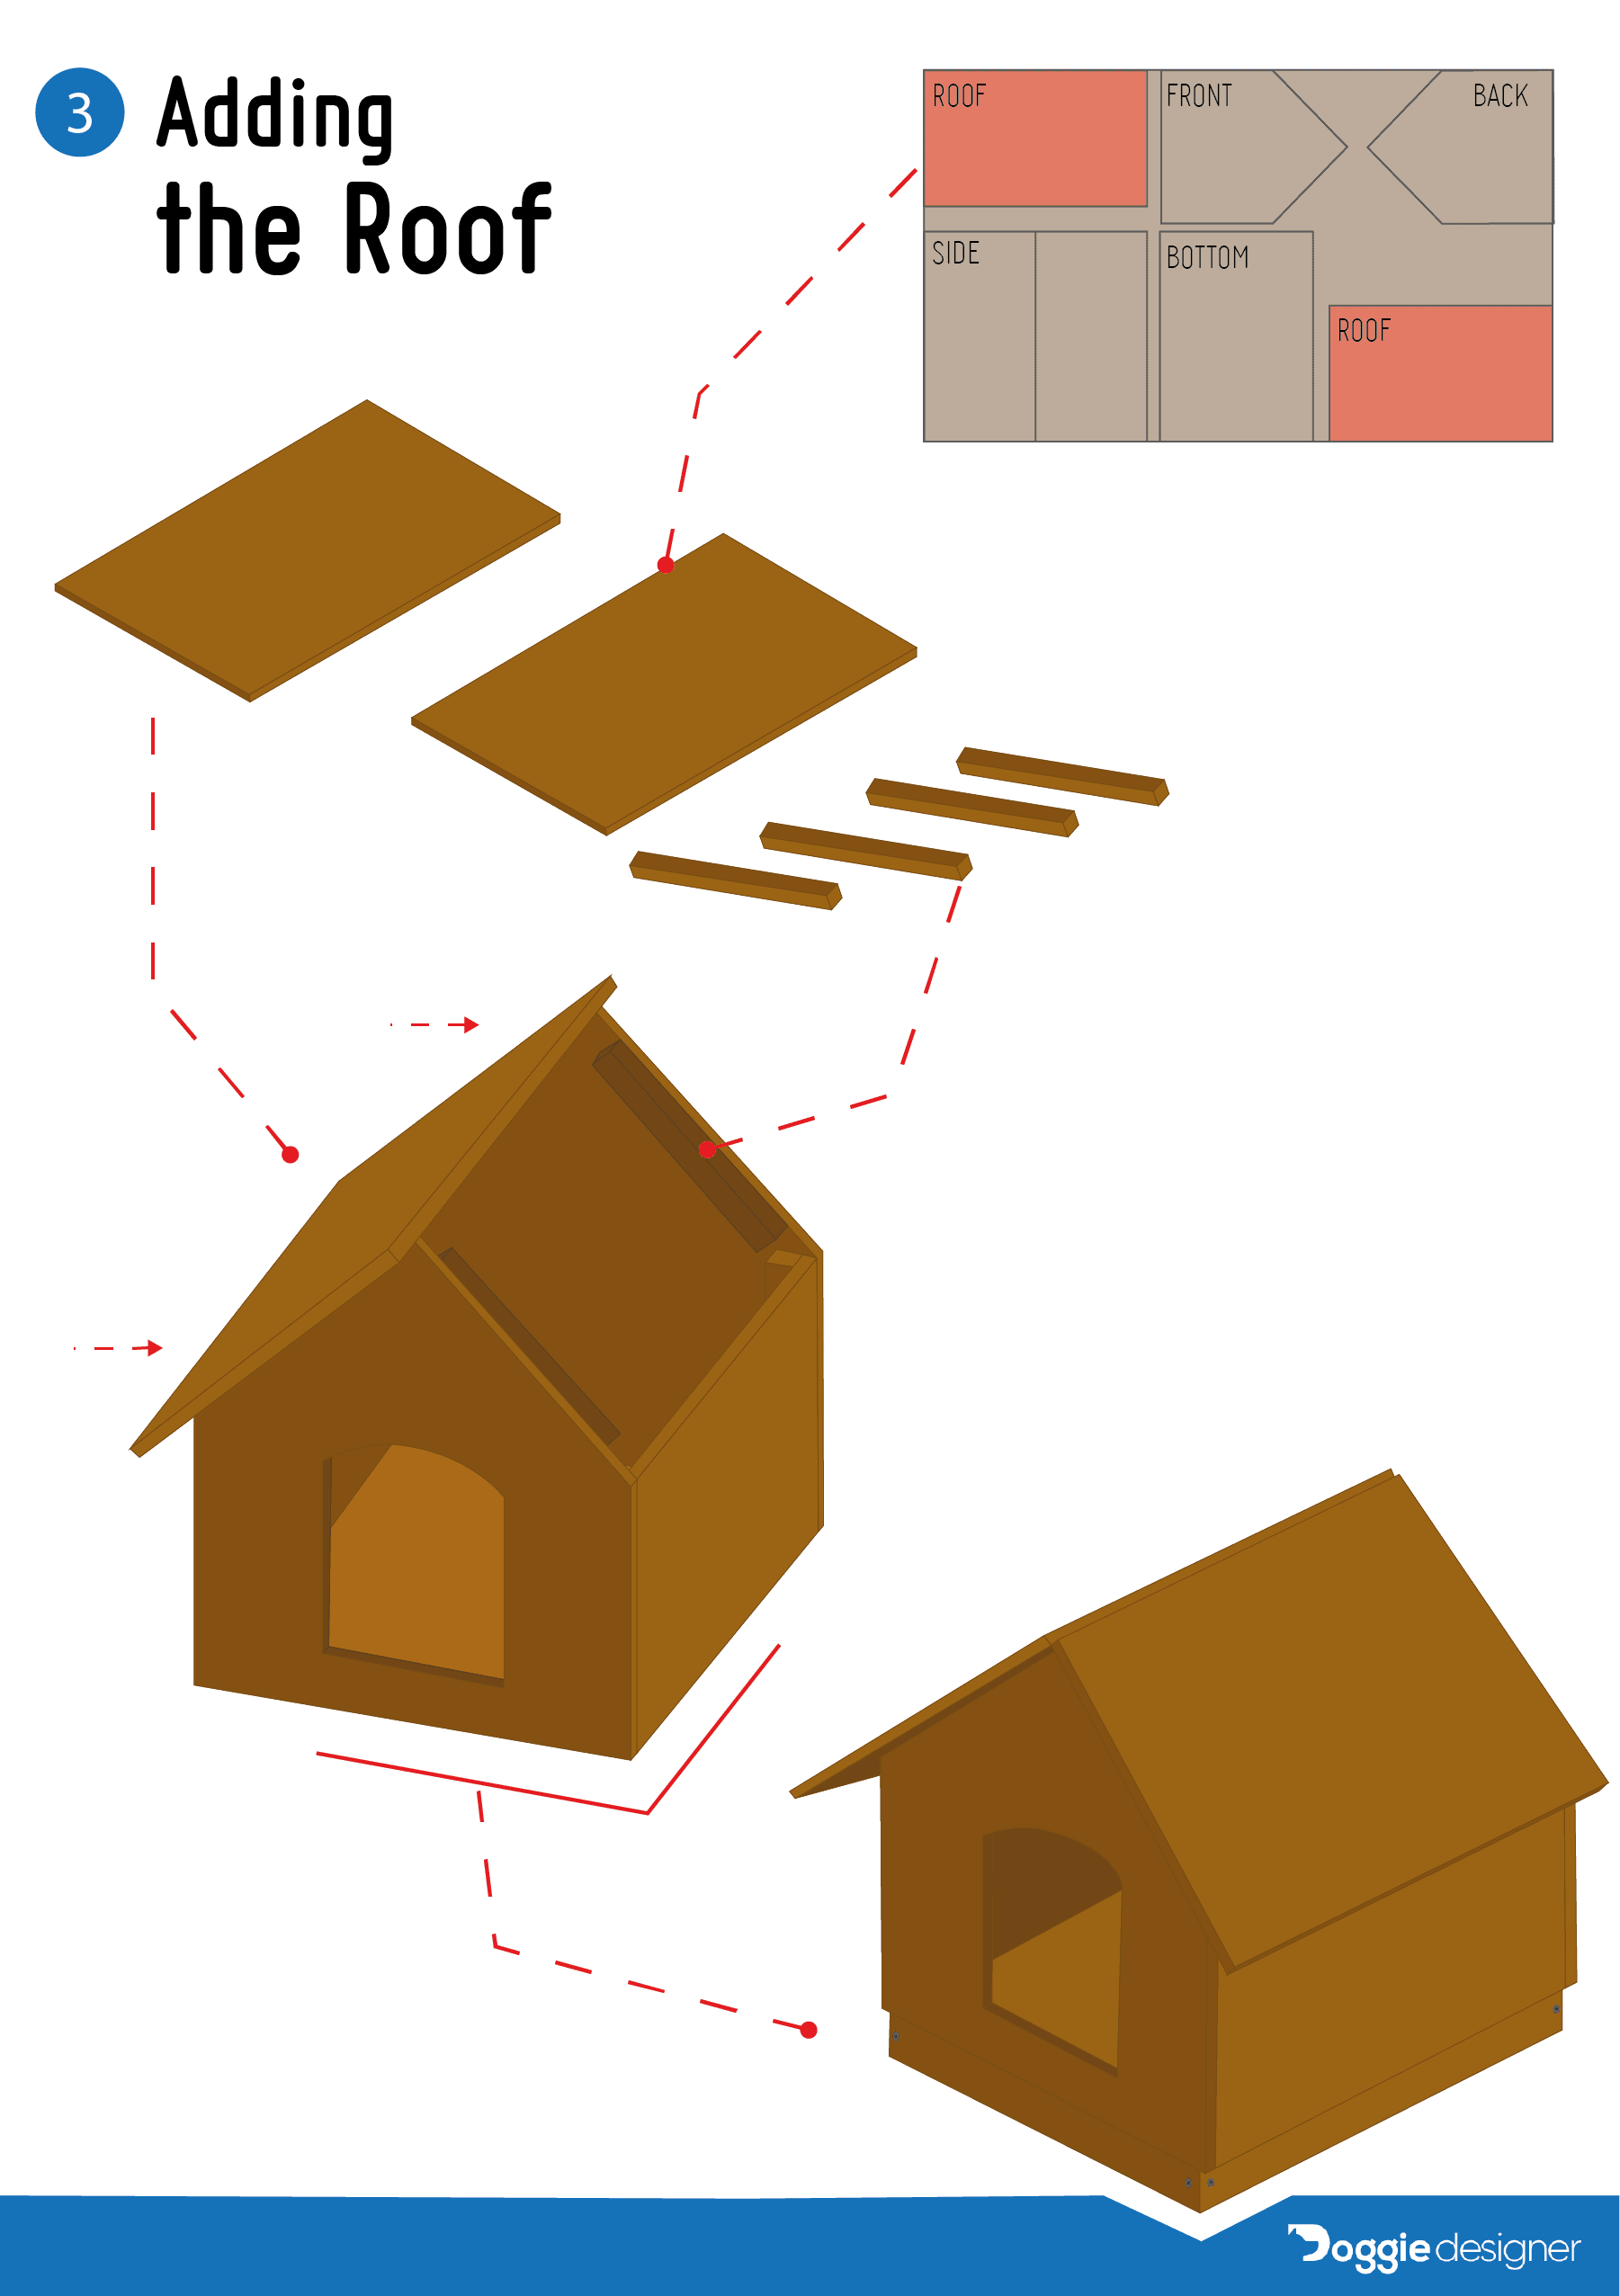
4. Adding the Roof
There are a variety of roof styles you can choose from, ranging from plain wood to asphalt shingling. We’re using plain wood here, but if you live in an especially damp climate, you’ll want to weather-treat your plywood or opt for something less likely to rot.
The roof panels will lay right over the top of the existing frame (and if you’ve done things right so far, they should lay in perfectly). Screw them in, and you’re done!
That is unless you want to paint the house or add any bells and whistles like heat pads to the interior. We’d recommend doing both, but it’s not essential.
Practice Makes Perfect
All of the above steps should only take a few hours, and your speed will increase as you become a more capable carpenter. You could even start a business based on making dog houses, and then selling them.
The fact that it’s not much of a time commitment is especially nice because if you screw it up past the point of repair, you can start over without sacrificing too much of your time in the process. Or you could just save those few hours of your life and buy a premade one. We won’t tell anyone.
Also, if you're interested in building a cat house, then here's a good place to start.
See also our dog house buyer's guides:
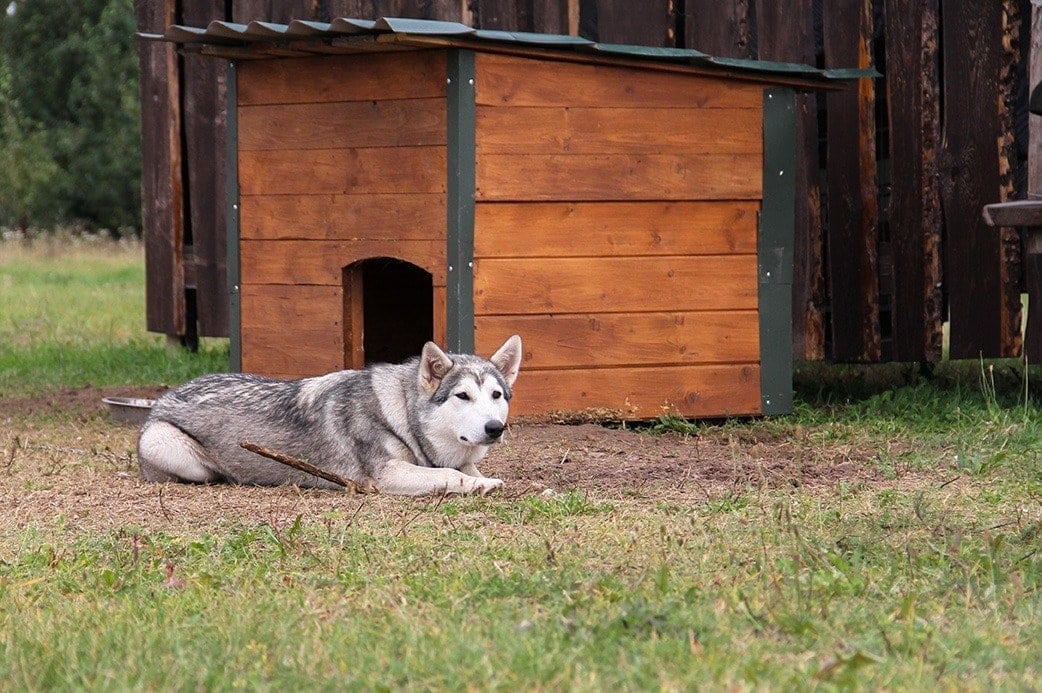
Featured Image Credit: pryzmat, Shutterstock
Get Hepper In Your Inbox


Pet care tips from our vets and experts, straight to your inbox.
You may opt-out at any time. View our Privacy Policy for more information.

Nicole is a lover of animals of all sizes but is especially fascinated with the feline variety. She’s the proud mom of Baby, a Burmese, and works every day so he can relax in the sunshine or by the fire. She’s always had a cat in her home and has spent countless days with others, observing behaviors and softening up even the grouchiest of the lot. Nicole wants to share her kitty expertise with you so you and your cat can live happy, healthy, and care-free.
Join the conversation
Ask a question, share your story, or send private feedback.